Wavelet Barcode Software User Guide
This guide will be the guide to install the Wavelet Barcode Software to print barcode labels to be used to scan in the EMP
Pre-requisites
Download and install the following software in windows environment:
- Server Revision: 2021-02 or newer
- Crystal Dependencies
- For Windows 10 download the 64-bit version at https://www.tektutorialshub.com/crystal-reports/install-crystal-reports-visual-studio/

Note** Barcode Printer v1.1.0.1 only works with the 64-bit version of Crystal Reports. If 64-bit version does not work, please try 32-bit version.
- For Windows 10 download the 64-bit version at https://www.tektutorialshub.com/crystal-reports/install-crystal-reports-visual-studio/
- Default Printer - Remember to set this PDF Printer as your Default Printer. You can do this in your Printer Settings.
- Go to Control Panel → Devices and Printers → Choose the PDF Printer → Right click and set as Default Printer.
- (http://www.bullzip.com/products/pdf/info.php)

Installing Java
Install latest java 64-bit https://www.java.com/en/download/ or download from here https://barcode-software.s3-ap-southeast-1.amazonaws.com/jdk-8u231-windows-x64.exe
Ensure these 2 Java apps is installed

Check for java version

Installation
After the prerequisite software are installed, download the following folder then install Wavelet Barcode Printer
For Windows 10
Version 1.1.0.8 (date 2021-04, multi uom and pseudo code)
Note** Antivirus needs to be disabled before running the .exe file
How to Use
1- The first time you launch the software you will need to click on the "Setup" button then "Server Configuration" button at the top left, then it will request for the EMP link and password. Fill the required info then press Save.
P.S: You only need to key in URL in the URL text-box not /emp if there is a port please enter it like example : cloud.wavelet.biz:8585 ONLY.

2- Once you connect, you can test for searching by item code or GRN number.

3- Select the item from the table then click on Print

4- The selected item should be printed

In the event you wish to change the settings you can click on the configuration item in the main menu of the software.
Reports
New design reports (.rpt) can be added at the reports folder in the Barcode folder

These are the newly added reports, customized based on customer needs.
Now onto the Printing Phase
1) First of all, before any printing would be done, the particular printer would have to be calibrated.
- Different printers have their own way of calibration.
- Do refer online with the Printer's model number to get the method to calibrate the printer.
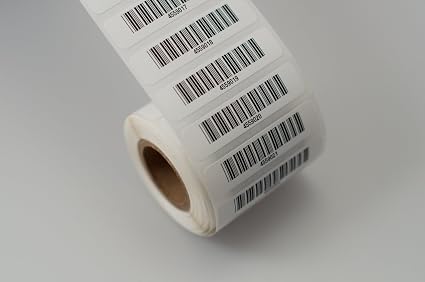
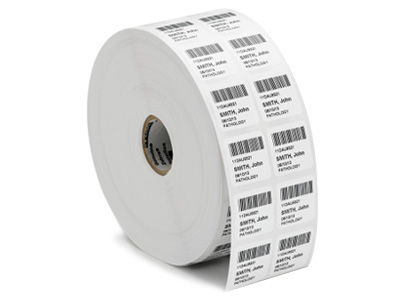
- Different printers has the ability to only print efficiently on certain barcode labels.
- You must know what the barcode printer is capable of before inserting the the different barcode type.
- The examples can be seen below,
2) Next, appropriate setting would have to be done during the printing setup. Upon converting to PDF file, click on the "Print" option. The right printer would have to be chosen. In this case, no barcode printer was used as an example.
- However, for your case, you will have to use the Barcode Printer which is connected to your PC.

3) Next, you would have to click on Properties to set the size of the barcode label which is being used by the customer. Again, in this example, no barcode printer is being used.
- However, when barcode printer is actually connected, around this window, you will have the option to custom set your barcode label size.

4) Upon doing all that, you are ready to print.
Private & Confidential