What is GL Dimensions
This feature is used to separate the amount of GL code for reporting purposes.
To set up GL Dimensions,
Menu Path: Control Panel > System Admint > EMP Configuration > Trading > General
- Enable GL Dimension configuration, tick Enable and Submit to enable the feature.
Compulsory is used if user want GL Dimension to be mandatory input for every transaction.
To create a new GL Dimension, navigate to Control Panel>System Admin>Label Maintenance>Label Listing, and create and select Type as GL DIMENSIONS. - Click Select GL Dimension to select a default one for all transaction(e.g. all transaction auto assign the GL dimension without select manually), do use it appropriately.
- Further drill down of the GL Dimension, user may make use of item level GL Dimension.
Similarly, tick it to enable or make it Compulsory.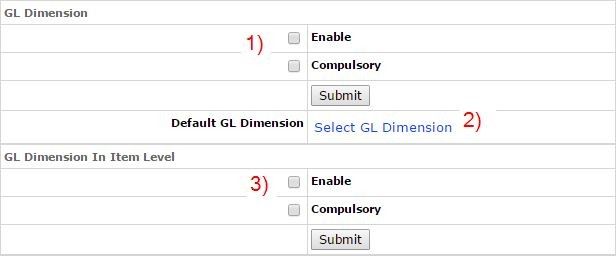
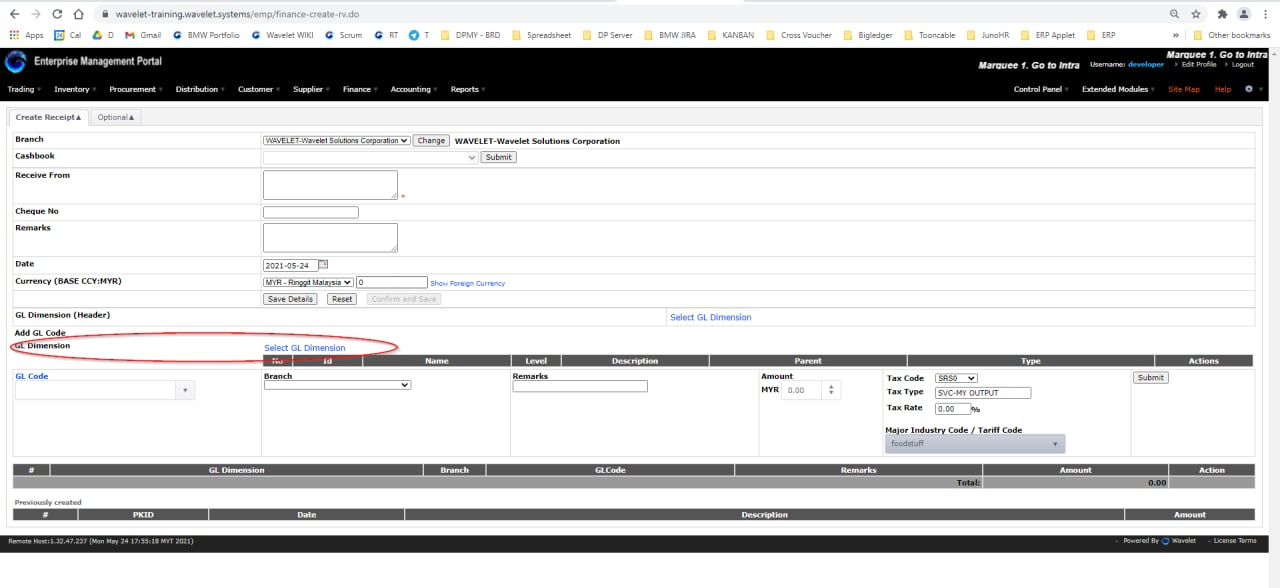
- After enable GL Dimension, you may see the configuration appear in most transaction page. Below is a sample for Create Invoice.
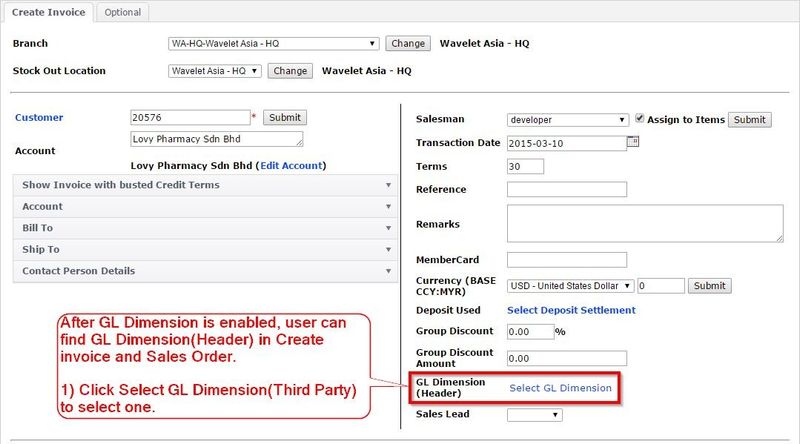
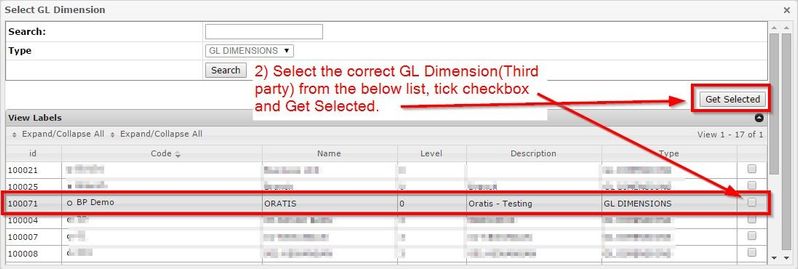
- Click the Select GL Dimension to select created GL Dimension at Label Listing, to tag the transaction with related GL Dimension.
- Selected GL Dimension will appear in the transaction page as below.
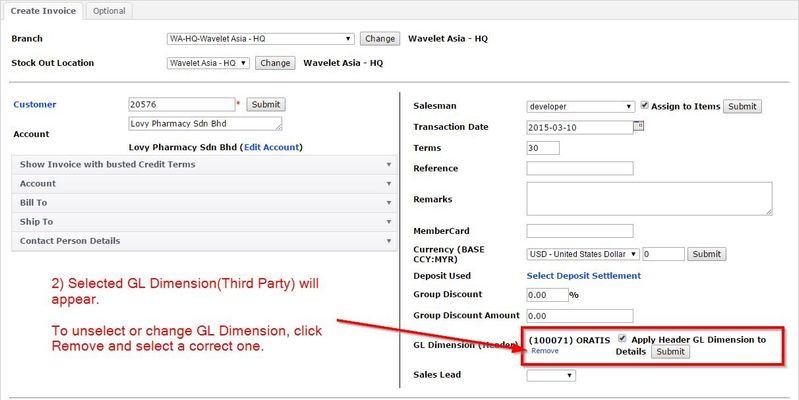
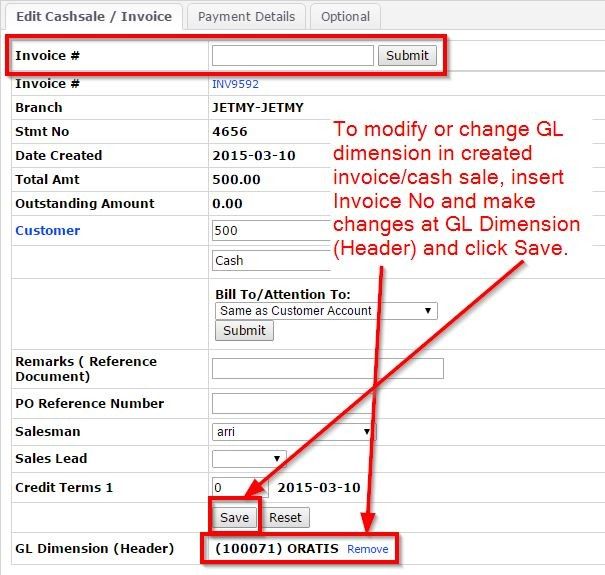
- It can be edited in edit page, e.g. below show how to edit GL Dimension in created invoice.
- As for the GL Dimension in item level, the GL Dimension will appera in certain document create page such as receipt, credit memo, supplier invoice and payment voucher
Private & Confidential