Automation of Non-Stock Purchase (Workshop)
Settings to do Prior to the transactions:
Settings for HQ Branch:
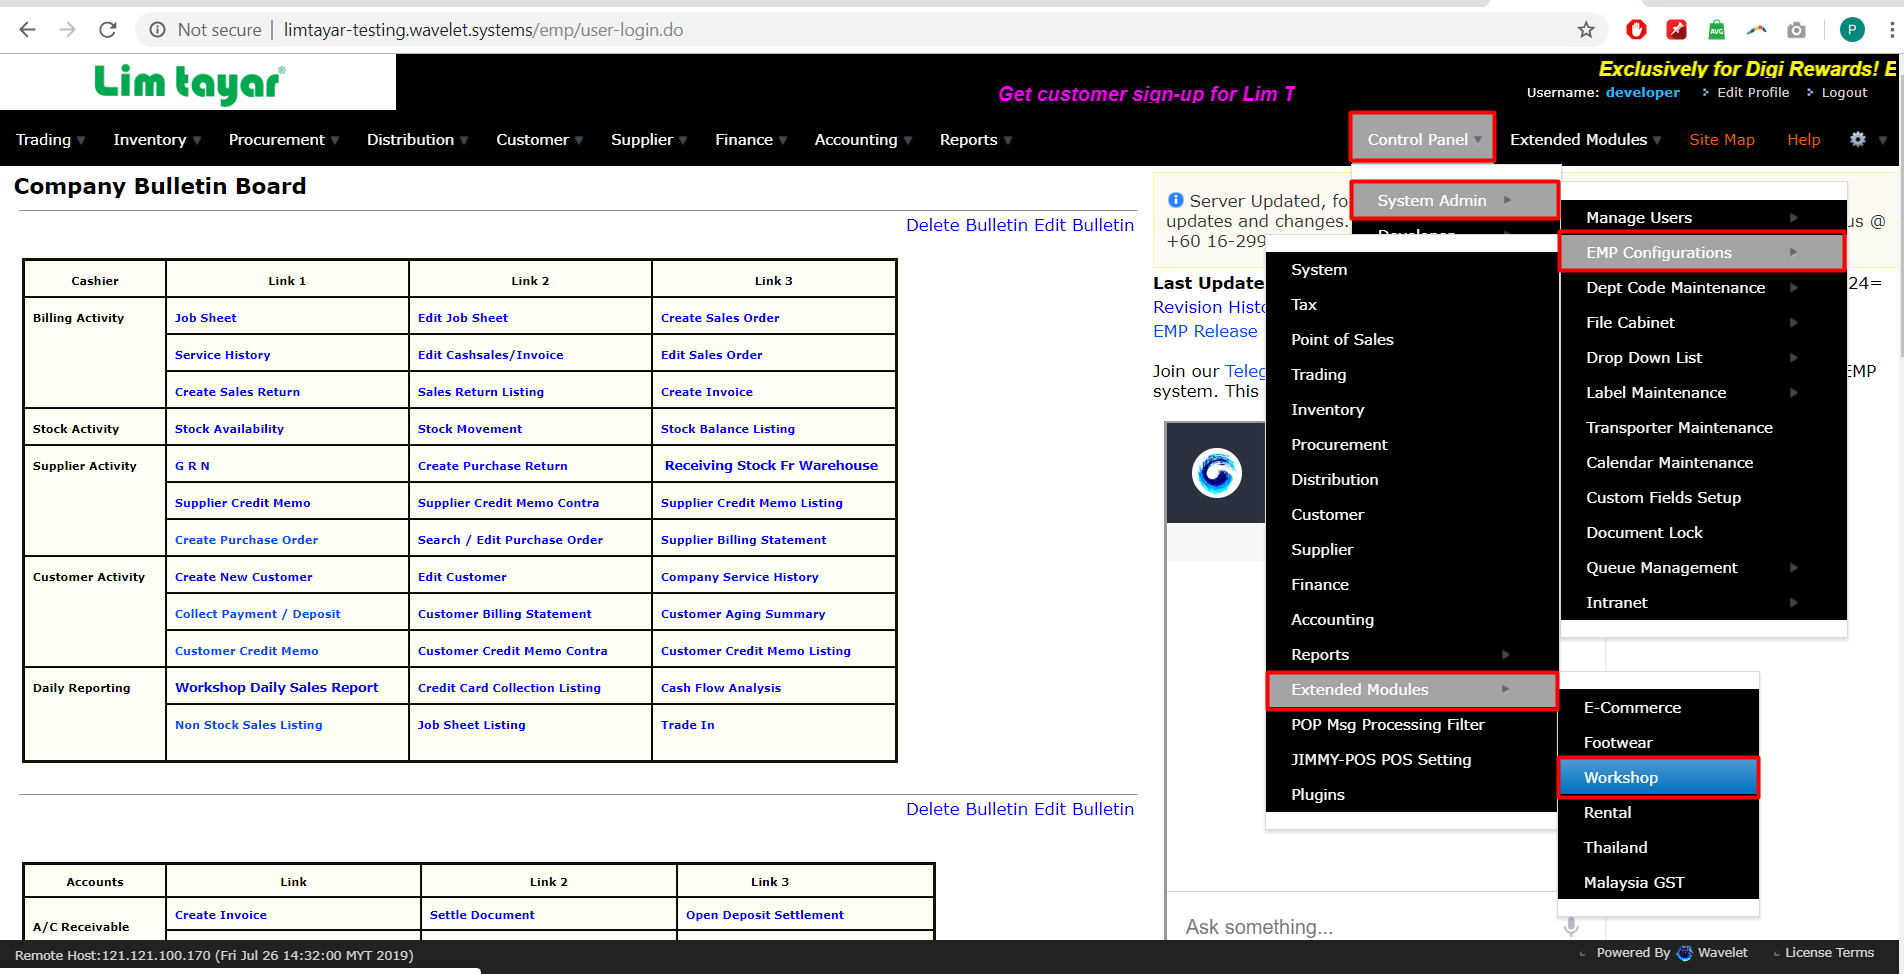
- Go to Control Panel > System Admin > EMP Configuration > Extended Module > Workshop.
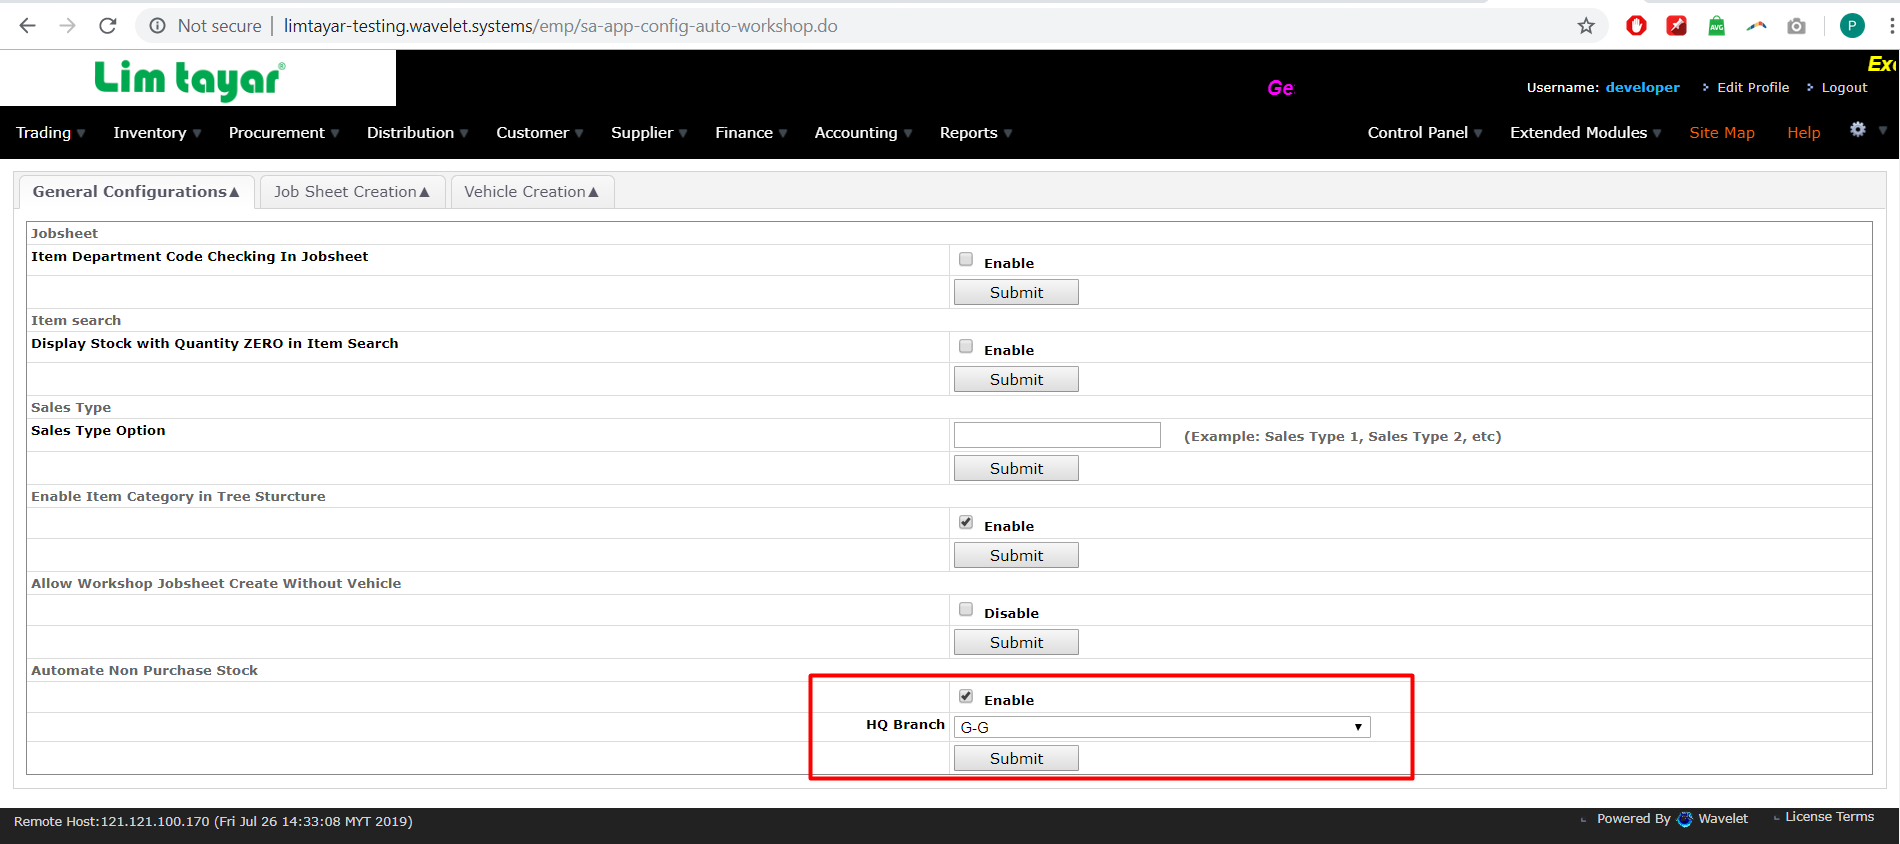
2. Tick enable on the Automation Non-Stock Purchase, and select the HQ branch, click Submit.
Settings for Markup per Supplier
- System currently has default 10% markup for all Suppliers and Item Codes.
- To set the markup per Supplier, go to Control Panel > System Admin > Custom Fields Setup.
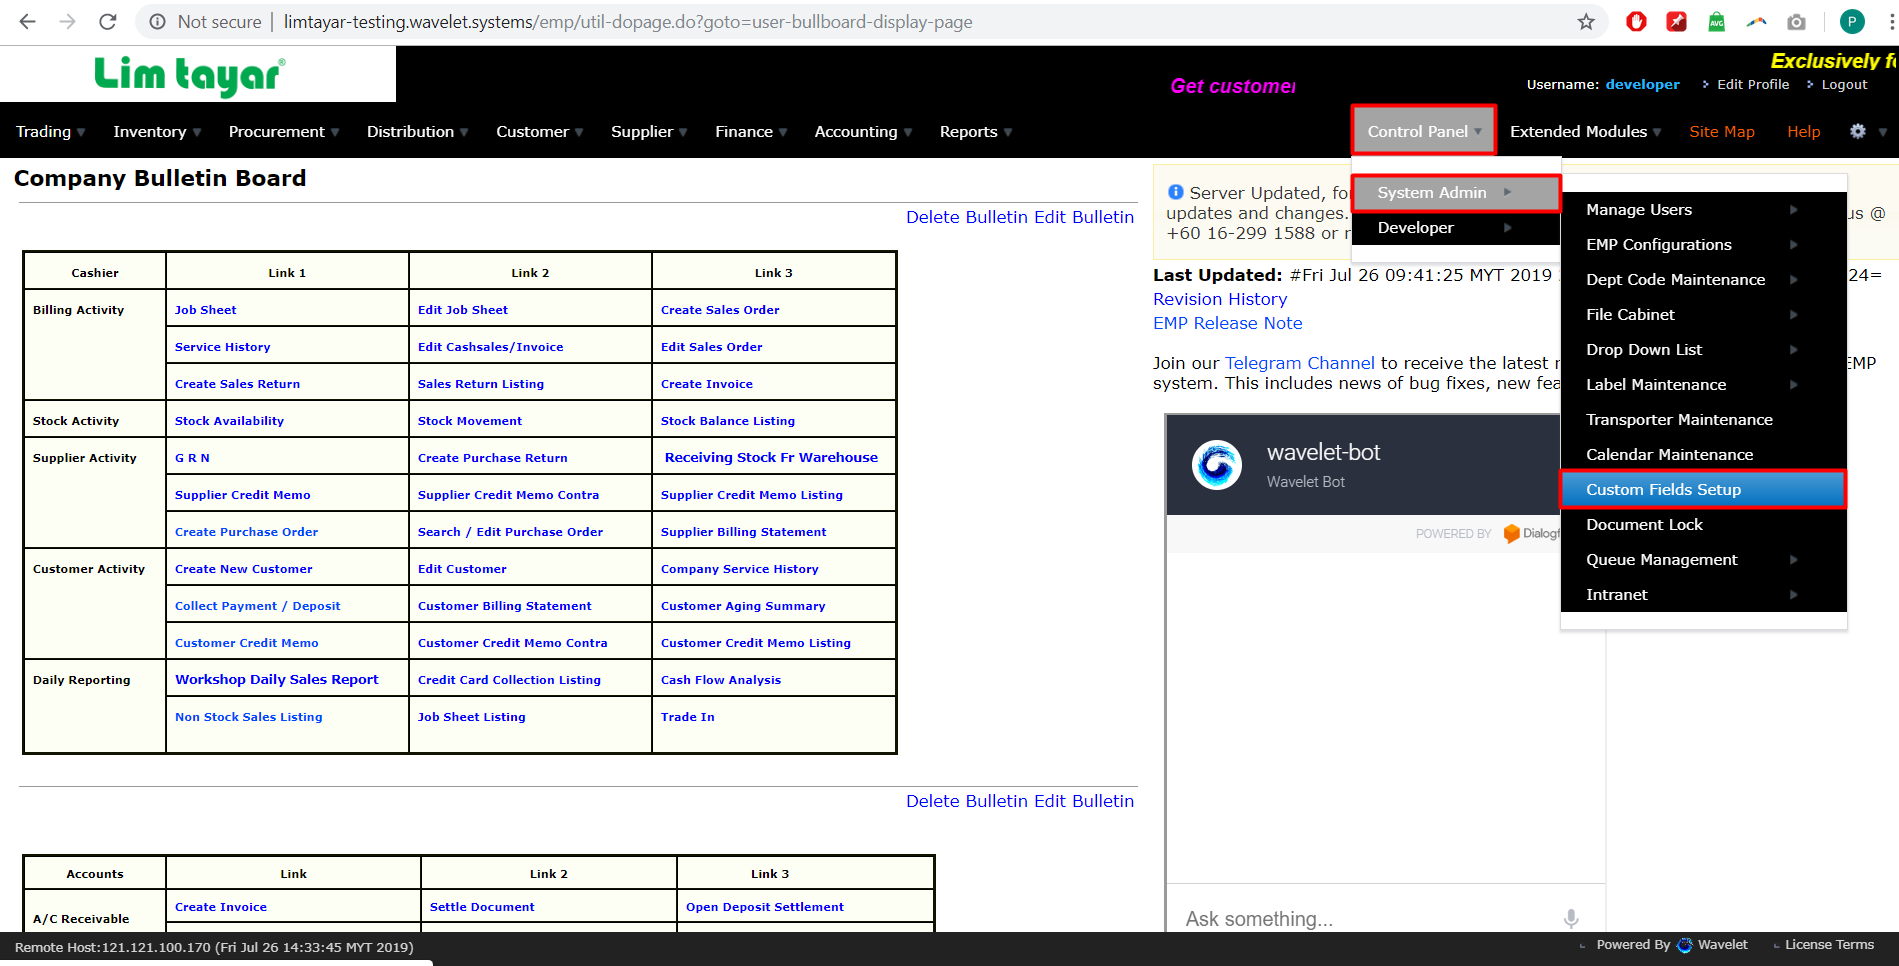
3. Key in the details as image attached below. The name should be “MARKUP NON PURCHASE STOCK”. Click on the create button.

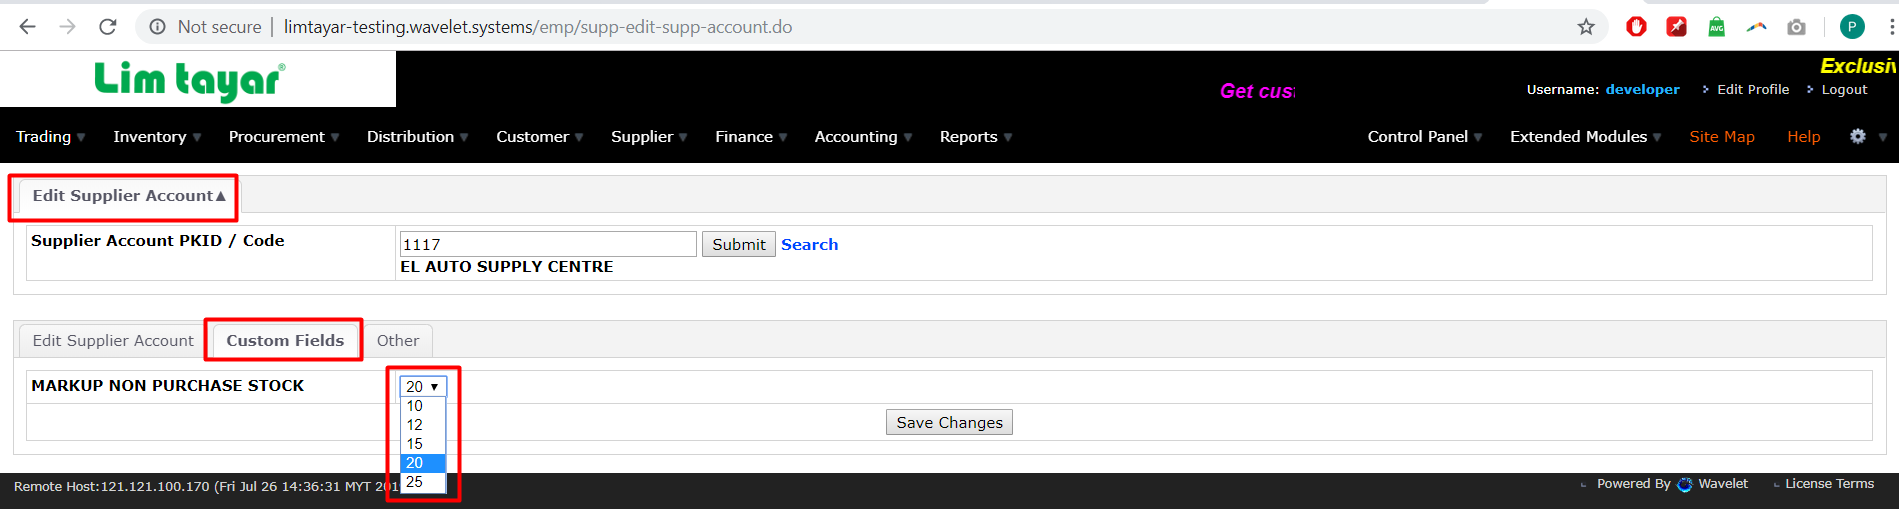
4. Go to Edit Supplier to set the markup by Supplier at the Custom Field tab. Click on the Save changes button.
**After completing the settings above, user can perform the Non-stock Purchase function.
Steps for Automation of Non-Stock Purchase
- Create Jobsheet. Record the JS document number.
- Create Non-Purchase Stock.
- User only needs to key in the Supplier Code, the Item Cost and Qty from the Supplier.
- System will auto-calculate for each mark-up of 10% for HQ to Outlet charges and Outlet to Customer charges.

5. Click on Save Changes, and Confirm and Save the Non-Stock Purchase GRN.
The following is Automation from EMP system Upon clicking on the Confirm and Save button at Non-Stock Purchase. There are no further steps required from user’s side.
- Auto-create GRN in HQ from Supplier. The Supplier Code will be set the same as the Non-Stock Purchase (GRN) created at step 5.
- Auto-create JS and INV in HQ, to bill the Outlet. The Price will be 10% mark-up from the Supplier Cost price.
- Auto-update the HQ GRN No. at the Remarks Non-Stock Purchase (GRN) from Step 5.

Private & Confidential